Have you wondered a way to bypass Gmail phone verification? Or want you to skip the phone number verification step while you are creating a Gmail account? If so, this guide is completely for you. And don’t worry about your device, you can use your computer or even an Android mobile phone to sign up a Gmail account and bypass phone verification.
You all know that Gmail is one of the most popular email services in the world. Gmail is also powered by Google. Google allows users to access its services using a single Google account. Thus, if you have a Google account, then you can access Gmail, YouTube, Google Play Store, Calendar, Google Plus, and all other Google services.
Here, What I did to make a Gmail account without giving my real phone number.
Unlike before, creating a Gmail account on a PC without phone verification is not an easy task, it is really hard. Sometimes Google will force you to enter your phone number for verification. I have tried many times to skip the phone verification step when Google force me to enter my phone number. To do so, I used a web-based fake phone number and fake email address also. But my every attempt was failed by Google, and it won.
However, finally, I have successfully created a Gmail account without phone verification on my PC with the help of BlueStucks player. Because creating a Gmail account on our Android mobile is not much harder, we can simply skip the phone verification step. When we are using an Android emulator on our PC, it gives the native experience of an Android mobile phone or tablet. Let’s see How to make a Gmail account without phone verification on the computer or Mobile. See Also: Best Scrollable email Widget for Android
Better to Know:
Keep in mind that the BlueStacks player will require minimum 2GB of RAM for running on your PC. By the way, the BlueStacks Android Emulator size around 320MB.
Update: 2017
- The latest version of BlueStacks player no longer provides the native mobile interface to create the Google accounts so that I have used KOPLAYER Android emulator software to demonstrate this task.
- Sometimes Google force users to enter their phone number for verifying the account, and sometimes it doesn’t. So, I hope this guide will help you whenever Google force you to enter your phone number while you are creating a Gmail account.
How To Bypass Gmail Phone Verification On PC

- First of all, download and install KOPLAYER emulator on your PC.
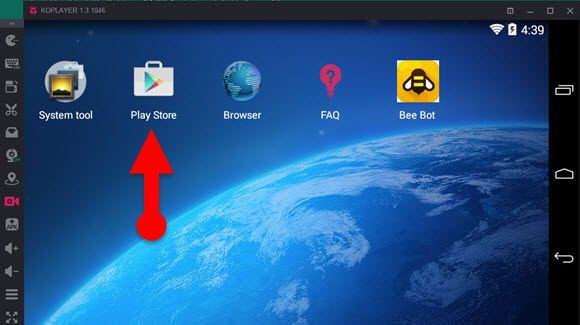
- Launch the software and click the Google Play Store app.
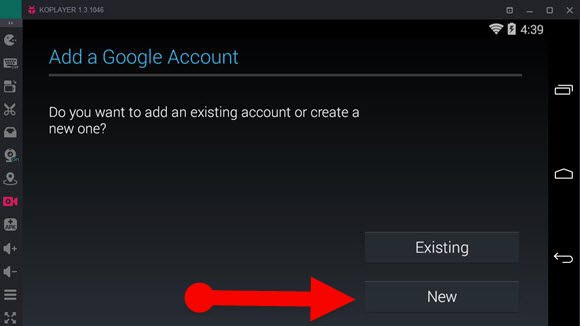
- Now KOPLAYER requires you to log into your Google account, Click the New button.
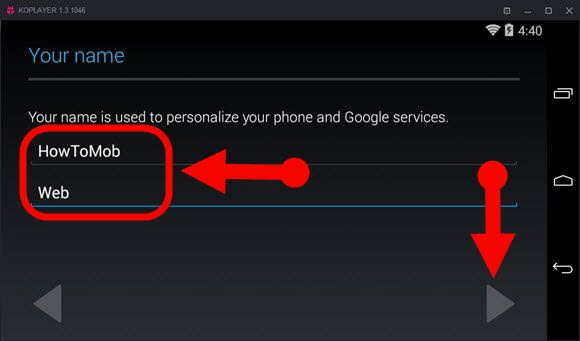
- Enter your first and last name. Click the arrow button to proceed the next step.
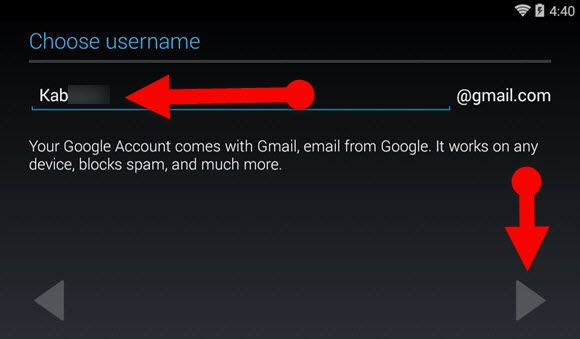
- On the next window, enter a username for your email address.
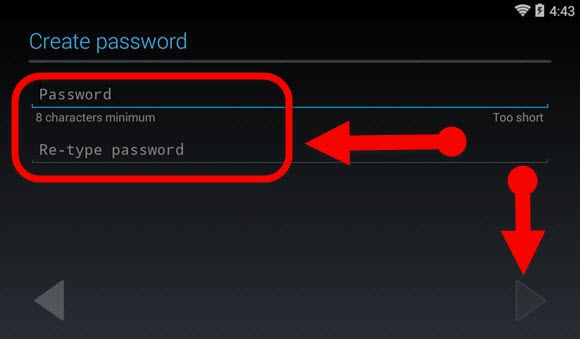
- Click next button and set a password for your account.
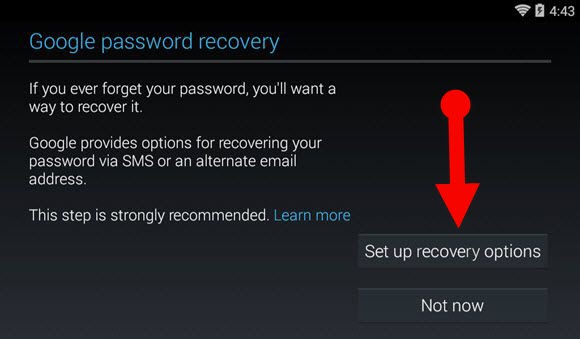
- Now it will ask you to assign a recovery email address or phone number, click on the “Set up recovery options” button. (You can skip this step but don’t do that. Otherwise, it won’t work anymore.)

- On the next step, enter a recovery email address. (You can enter a fake or temporary email address at there.)
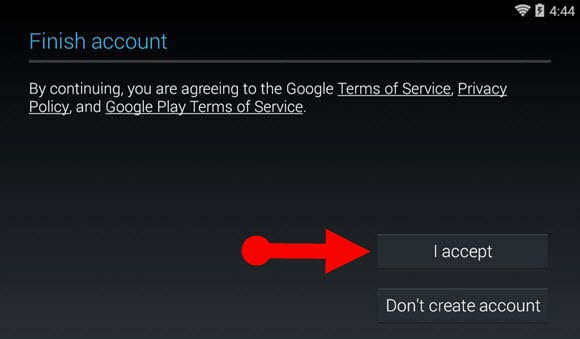
- Go to the next step by click on the next button and click the “I accept” button for agreeing to the Google term of service.
- Complete the remaining simple steps by clicking “Next Arrow” button and complete the task.
That’s it, now you have successfully bypass Gmail phone verification and created a new Gmail account.
For Mobile Phone User:
As long as you are an Android mobile user, you can simply skip the phone number verification step during you are creating a Gmail account. Let’s take a look at how to bypass Gmail phone verification step on Android mobile phone.
How to Create a Gmail Account Without Phone Verification on Mobile
- Go to the Settings section on your phone.
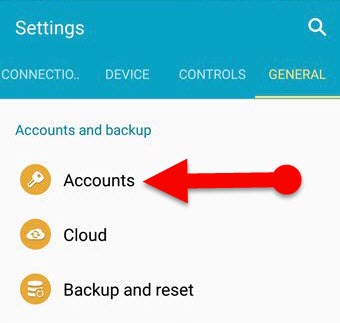
- Now navigate to the General > Accounts.
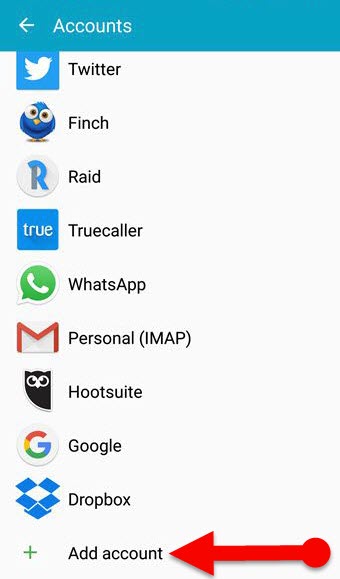
- On the Account section, tap the “Add Account” button, and choose the “Google.” (A new page will appear to add your Google account.)

- Select “create a new account” button, fill your first and last name in the given field, and tap the next button.
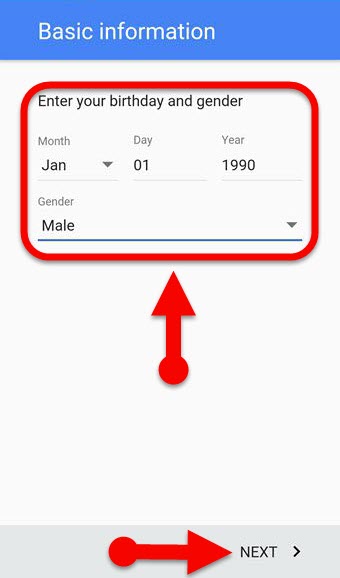
- Then, Enter your birthday and gender, tap the “NEXT” button.
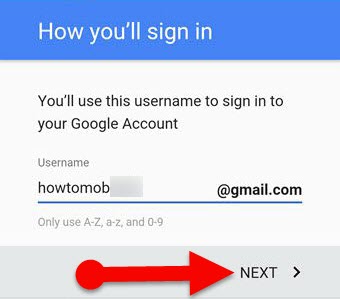
- Enter a username for your Gmail account and go the next step by tapping on “Next” button.
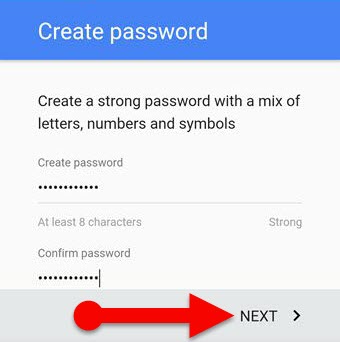
- On the next screen, enter a 8 character password.
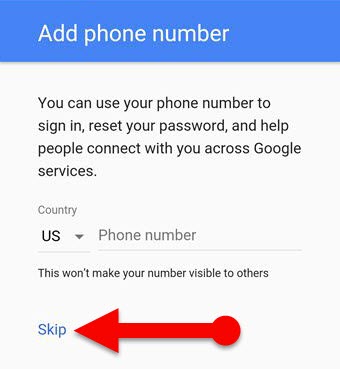
- After that, a page will prompt along with the “SKIP” button, and ask you to enter your phone number. Tap the “SKIP” button to bypass Gmail Phone Verification.

- Tap “I Agree” button on the next step.
- complete other simple steps.
That’s it. Now you have successfully created a Gmail account without giving your phone number.
Final Thoughts:
This is a complete guide to making a Gmail account without giving your phone number. You can use your PC or Mobile phone to complete this task. Creating a free Gmail account without having a phone number on Mobile is a very simple task. But when it come to the computer, it seems hard. However, with the help of an Android emulator, you can make a free Gmail account without providing your phone number on your PC. I hope this guide will be useful for those who want to make a free email without phone verification.


Doesn’t work. When you go to login to the gmail on your computer it says “We’ve detected unusual activity on the account you’re trying to access. To continue, please follow the instructions below” Then it wants you to put in a phone number for verification
Please be patient. I will update this guide with a video asap.
oh this working